SETTINGS
Edit Album order
Store Dashboard
Manage My Images
PUBLISHED
Albums
Home
All Images
Featured Album
Information
Contact Us
Search
Share
Share Store
Facebook
LinkedIn
Pinterest
Twitter
Email
$ USD
Currency
£ GBP
€ EUR
$ USD
$ AUD
$ CAD
R ZAR
Lei RON
kr SEK
$ NZD
$ MXN
zł PLN
CHF CHF
¥ JPY
Basket
(0)
Basket Empty
Welcome to Jamie White Photography
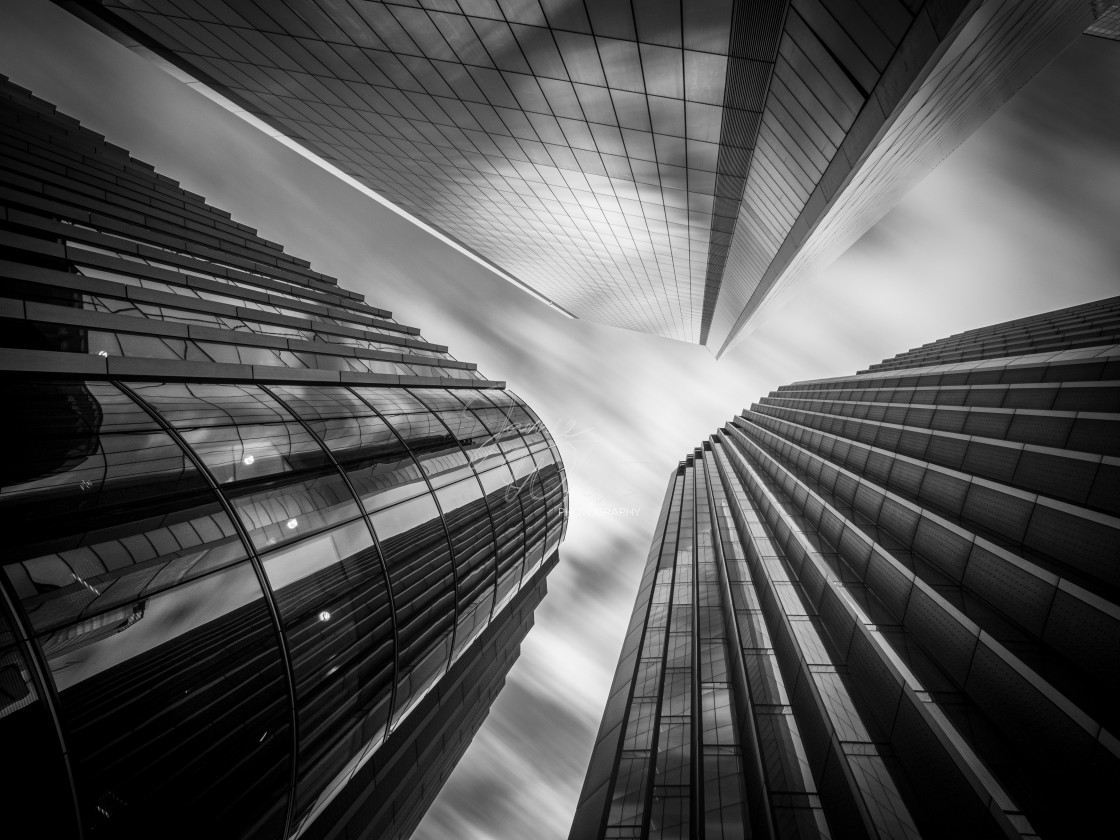
Cityscapes, Buildings and Architecture
7 Images
English Landscapes
38 Images
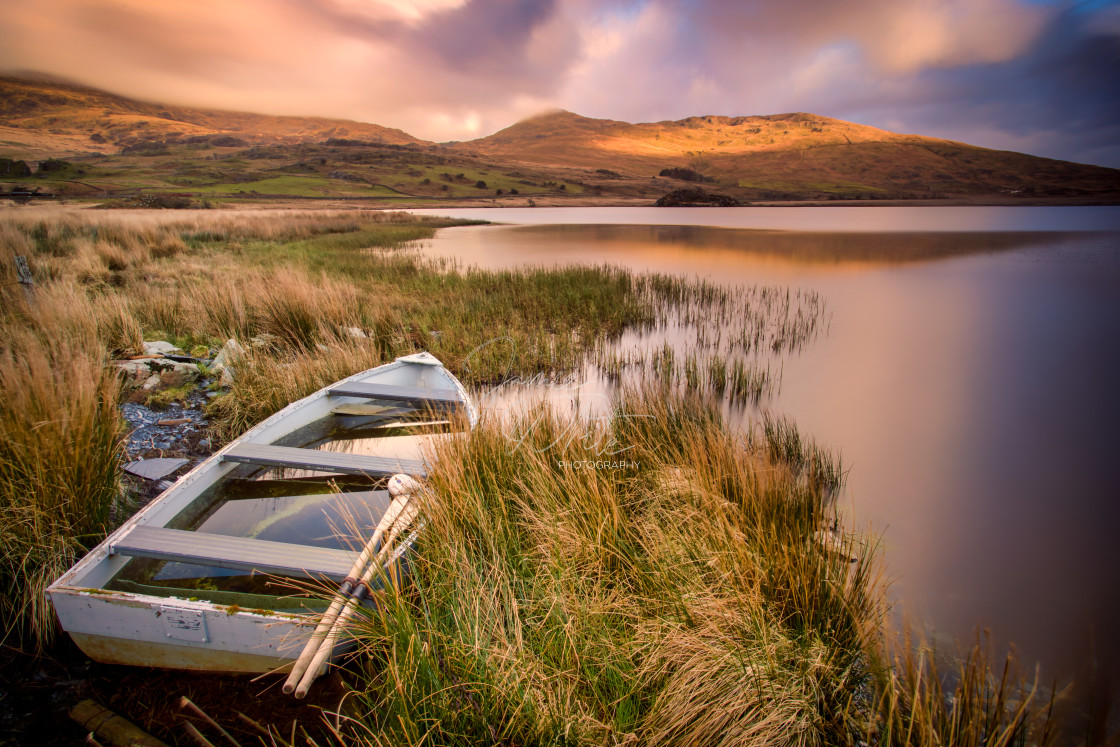
Welsh Landscapes
16 Images
Scottish Landscapes
22 Images
By continuing to use this website, you consent to the use of cookies in accordance with our
Cookie Policy.
OK
×
‹
›